We missed you at our Garden Gathering this week!
This week’s Garden Gathering was about recycling and solar power. If you couldn’t make it this week you can still participate at home! Remember we have our Garden Gathering events every Friday from 11:00am to 12:00pm at YDL-Whittaker. We’ll post regularly about what’s happening in all the YDL gardens and when Garden Gatherings are cancelled due to rain, check back for supply kits you can use at home.
Solar Oven
SUPPLIES
For this activity, you’ll be building your very own solar powered oven!
- A large, flat cardboard box
- Glue
- Aluminum foil
- Duct tape
- A sheet of black paper, or something else flat and dark colored
- A heat-proof glass bowl or casserole dish
- A thermometer, to measure the temperature in your solar oven
- The printable time and temperature chart
- A hot day with little cloud cover. The ideal temperature is above 80ºF, but the hotter the better!
INSTRUCTIONS
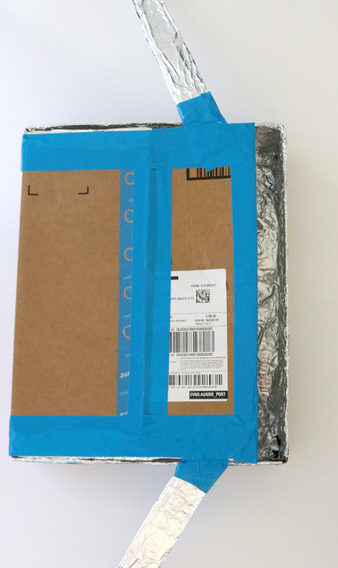
- Cut off all of the flaps except for one of the long sides. Take the other long flap, the one that is similar in size to the still attached flap, and either tape or glue it to the attached flap to extend it.
- Line everything with aluminum foil and use tape to hold it in place.
- Use the extra cardboard to create two, 2 inch wide legs that will prop up the lid. Make sure to wrap them in aluminum, and tape them to the sides of the box and the propped up lid.
- Place your black paper in the bottom of your oven, and put your heat proof bowl upside down in the box with the thermometer inside the bowl.


HOW TO USE YOUR OVEN
- Set up your oven in the full sun, with the open part of your oven facing whichever direction the sun is. You’ll have to adjust the reflective flap as the sun moves throughout the day.
- You can use the attached chart to keep track of the time and the temperature in the oven.
- Once the oven is about 160ºF, you’ll be ready to use it.
DIY Recycled Crayons
Melted crayons are fun for the kids, and are easy to make in the solar oven. This is an easy and safe way to demonstrate how the oven works.
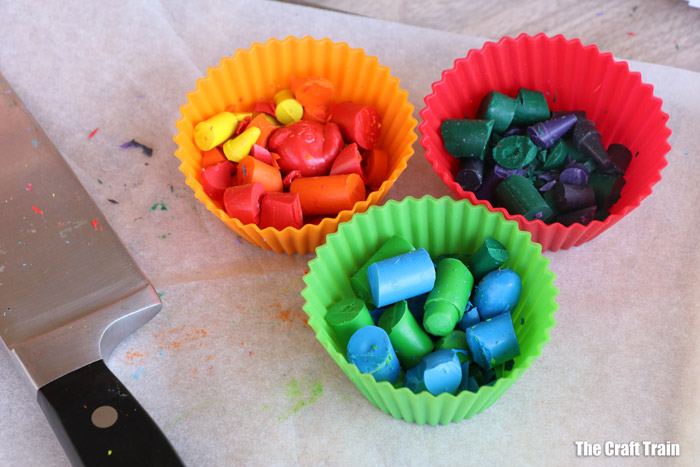
- Chop up some old crayons, and mix them together in a cupcake liner, preferably a reusable silicon one.
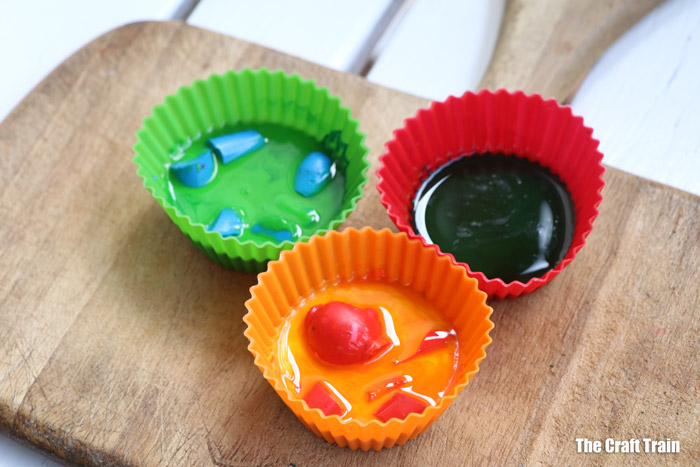
- Place them in the oven and keep track of the time, temperature, and state of the melted crayons.
- Once they’re melted sufficiently (there may be some chunks of crayon that won’t melt), use a towel or oven mitt to lift the bowl and remove your new crayons.
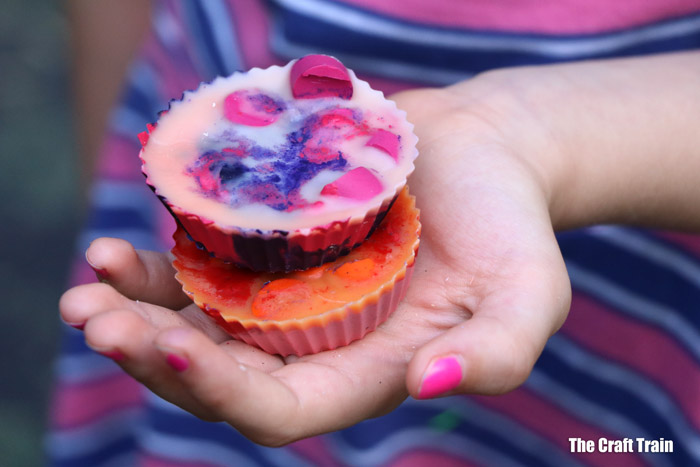
- Left them harden and then carefully remove them from their mold.
- Download and print the writing activity at the bottom of this page for your kids to fill out. There is space on the back for them to try out their new crayons.


Recycling
This week we talked about the importance of recycling! Recycling can be confusing, so we have some activities here to help kids learn about what is and isn’t recyclable.

